Turn Your Island Into A Storage Haven With These Genius Kitchen Ideas
On a rainy Saturday morning, I pulled open my kitchen island drawer looking for the pancake spatula and triggered the great avalanche of 2023. Lids, measuring cups, and a rogue bag of chocolate chips cascaded onto the floor. Sound familiar? If your kitchen space is more catch‑all than command center, you’re leaving serious square footage (and sanity) on the table.
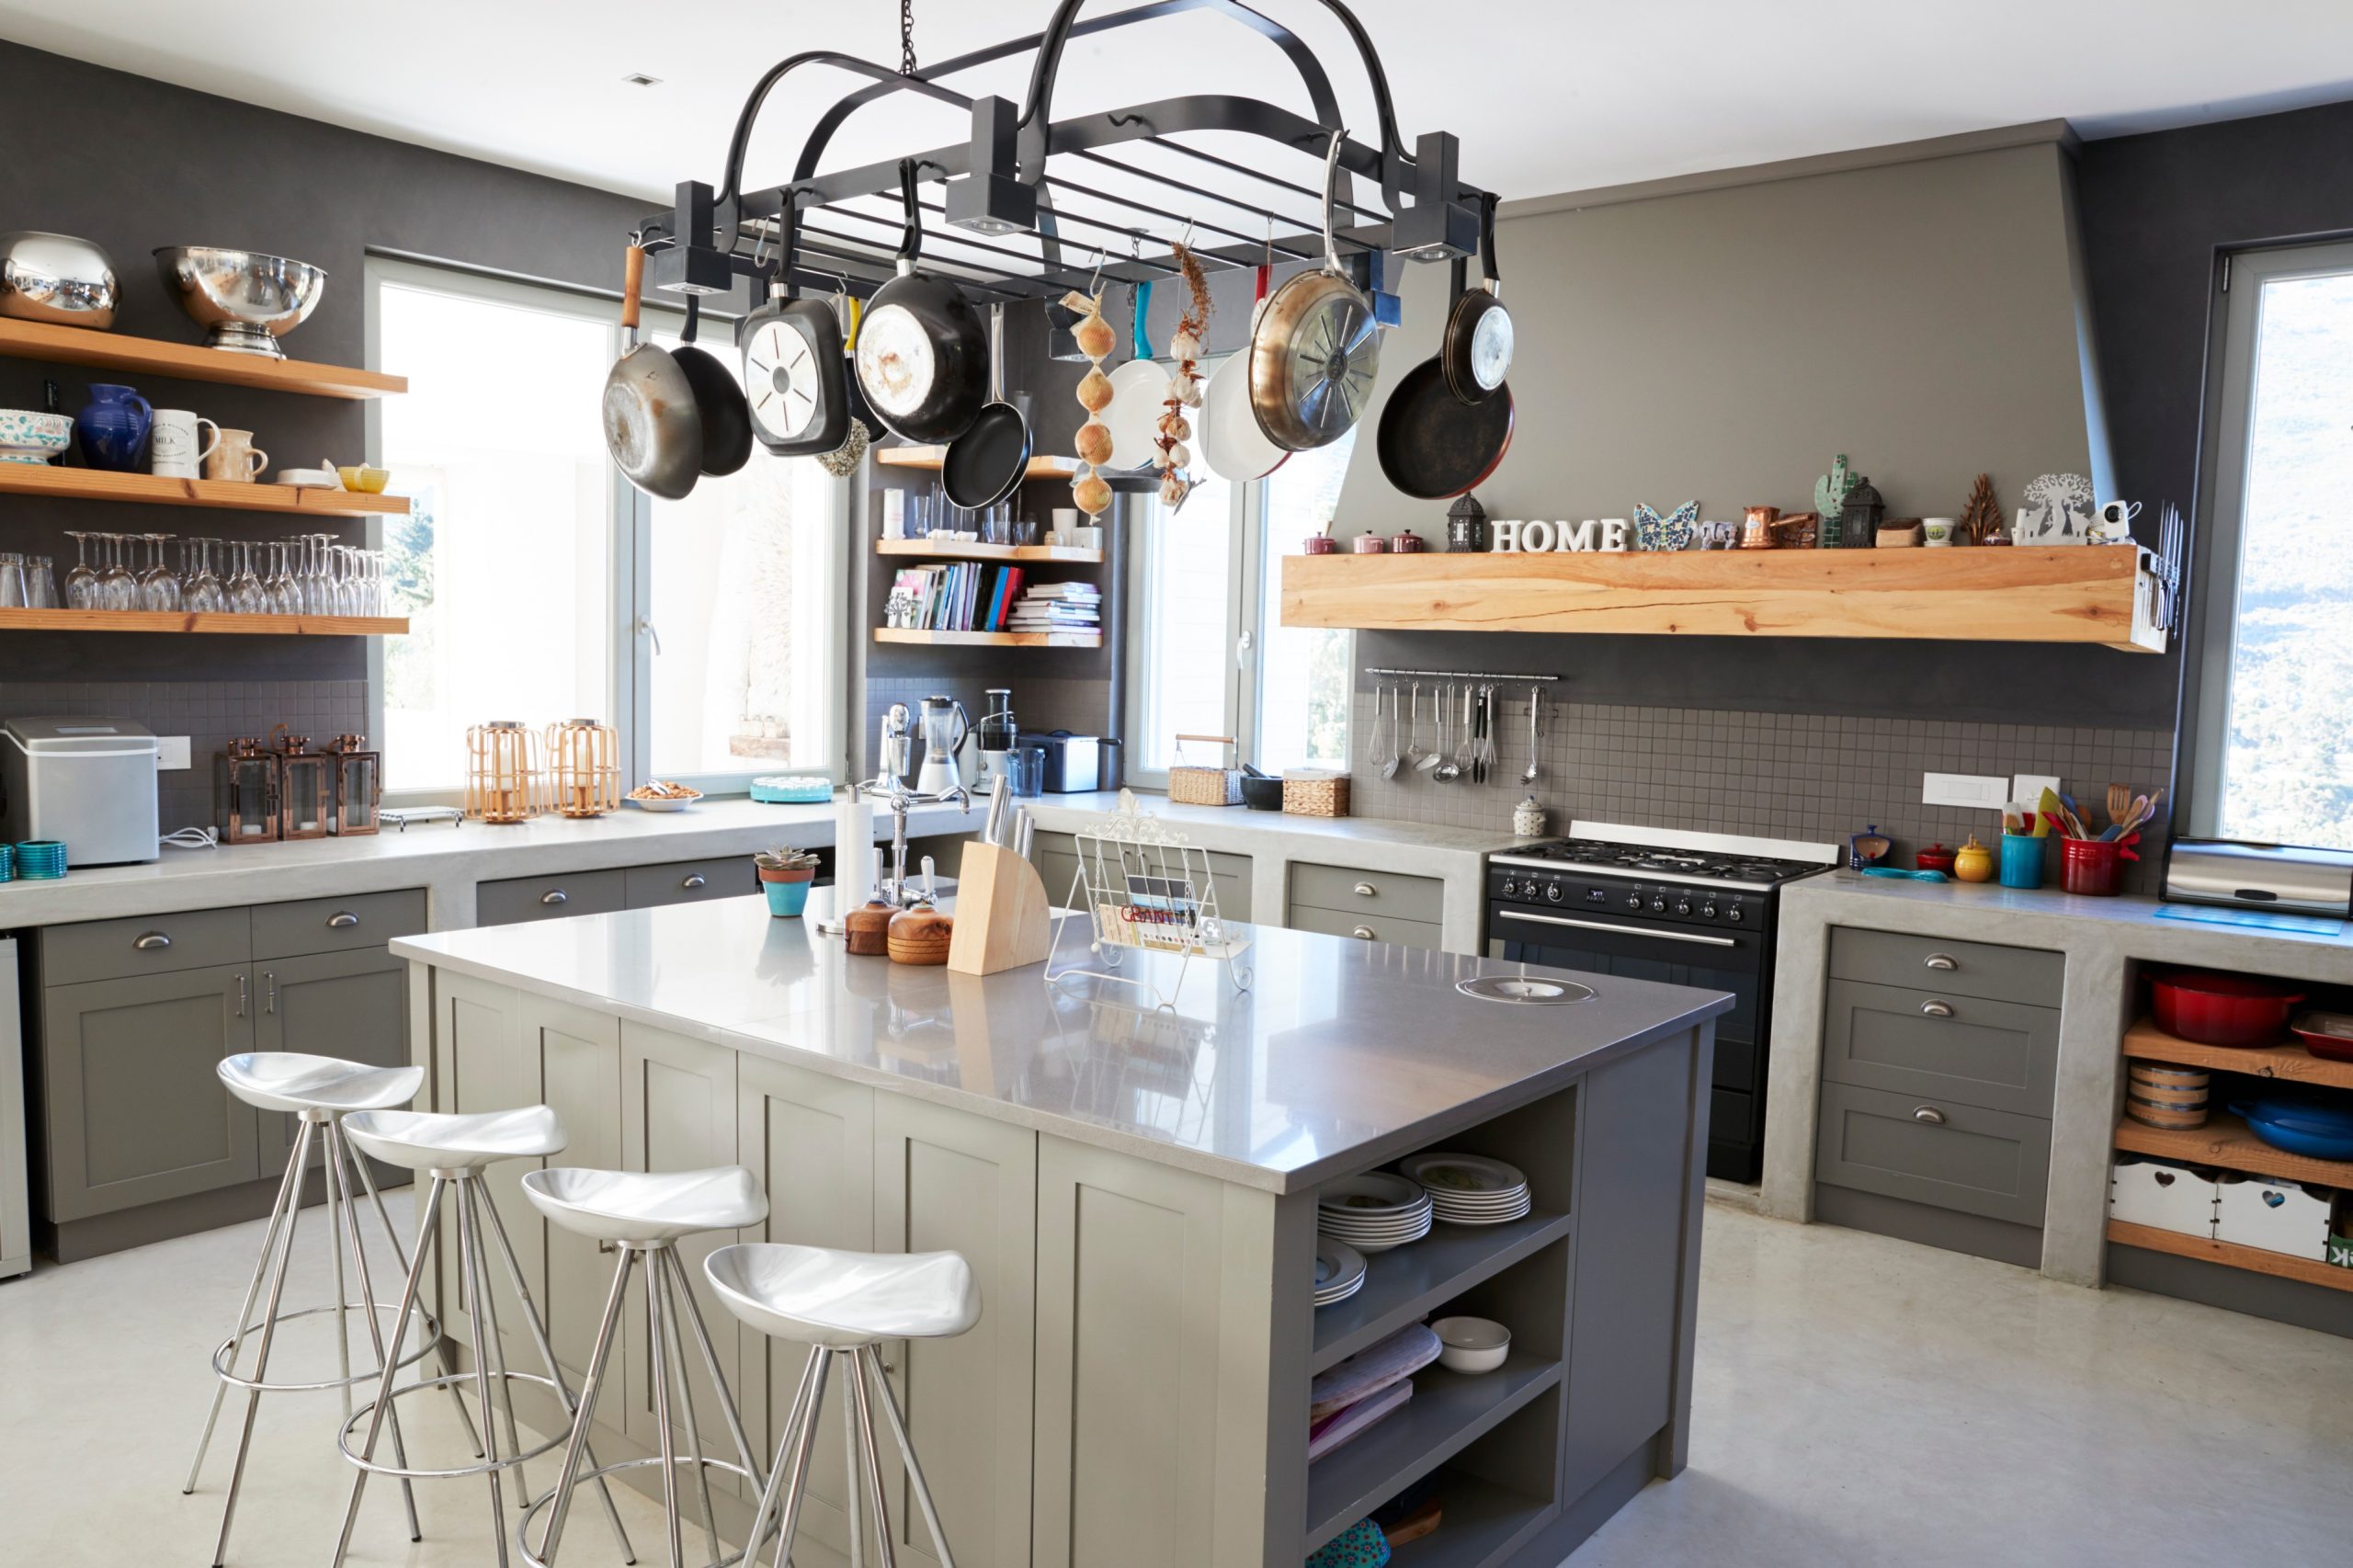
The good news is that with a few smart tweaks, that big beautiful block in the middle of your kitchen can swallow clutter, streamline prep, and even show off your style.
A kitchen island is more than extra counter space. It’s where you chop veggies, eat a quick snack, and chat with friends. When you use it for smart storage, you:
- Free up cabinets and the pantry for big or bulky items.
- Cut down on clutter, keeping tools and small appliances close but out of sight.
- Set up clear zones for cooking, baking, and entertaining.
- Add value to your home, buyers love clever storage solutions.
At Stone International, we build islands to last, using strong materials and layouts you can customize to fit the way you live.
Every tip we are sharing below is field‑tested in real kitchens and built around gear you can buy once and keep forever. By the end, you’ll have a step‑by‑step checklist and a smooth path from idea to installation.

1. Map Out Your Kitchen Storage Space
Start by emptying your cabinets and island, then group everything by how you use it — daily cooking tools, baking gear, serving pieces, kids’ snacks, and so on. Measure the width, depth, and height of each cabinet, drawer, and odd corner; a tape measure and your phone’s notes app are enough.
Watch how you move through the kitchen (where you prep, cook, serve, and clean) and sketch those zones so storage lines up with your flow. Jot down the pain points: the things that always go missing, pile up, or are hard to reach, because that’s where pull-outs, dividers, or hidden drawers will help most. Keep everyday items between knee and shoulder height and tuck rarely used tools higher or deeper.
Grab a tape measure and follow three easy steps:
- Walking paths: Keep about 42 inches clear on the working sides. If two cooks share the space, aim for 48 inches so doors and drawers don’t bump hips or each other.
- Work spots: Mark where you’ll prep food, cook, wash dishes, serve meals, and pull up stools. Every square foot needs a clear job before you cut any wood.
- Keep list: Write down everything that must fit inside, like big pots, cookie sheets, craft bins, pet bowls, even the family charging station.
Tip — snap a quick photo of each cabinet or drawer with its measurements; planning inserts later becomes much easier.
The design service is free when you order cabinetry from us and often saves thousands in last-minute changes.
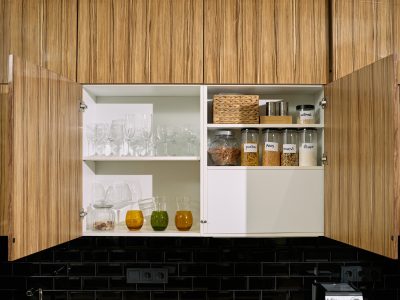
2. Pick Rock Solid Cabinets And Drawers
Choose cabinets that can take daily abuse and still look good years from now. Start with strong box construction (think thick plywood, tight joinery, and reinforced corners) so doors don’t sag and drawers don’t wobble. Look for full-extension, soft-close slides and hinges; they keep movement smooth and protect the hardware.
Pay attention to finish, too. A durable, moisture-resistant coating fights off spills, steam, and constant wipe-downs. Make sure the interiors are easy to clean and won’t chip or peel. Ask about warranties and service, because support matters long after installation.
Deep drawers are a game-changer for bulky items like pots, pans, and mixing bowls. But what if you could subdivide that space further?
- Nested Drawers: Install two tiers of pull-out trays within a single deep drawer. The top tray holds measuring cups, spoons, and small gadgets; the lower tray secures larger cookware.
- Adjustable Dividers: Use removable panels to reconfigure compartments based on season or need, ideal for cookie sheets in winter and grilling tools in summer.
- Soft-Close Glides: Ensure even the heaviest pots slide in and out smoothly, preventing wear and tear.
Stone International builds with these details in mind, using tough materials and customizable layouts so your island works hard without wearing out.
3. Maximize Storage with Pull-Out Pantry Towers
For islands wider than 12 inches but narrower than 24, pull-out pantry towers slide in smoothly and offer surprising capacity:
- Slim Spice Rack: A shallow top shelf with adjustable height accommodates spice jars.
- Tiered Shelves: Three to five levels for canned goods, oils, and condiments—each on full-extension slides.
- Locking Mechanism: Prevents accidental ejection, especially useful in homes with pets or small children.
These towers transform underutilized gaps into organized storage zones, keeping daily essentials just an arm’s reach away.
4. File Baking Gear Upright Inside Your Kitchen Storage Island
Large platters, sheet pans, and cutting boards live happier on edge. We route sturdy plywood dividers every two inches, so you can resize slots as your collection grows. Each divider anchors into the cabinet top, adding strength that prevents countertop sag, yet lifts out for a quick rinse.
- Two-inch increments give you precise control,slide dividers closer for skinny cookie sheets or farther apart for oversized serving boards.
- Rounded leading edges keep non-stick coatings safe from scratches as you pull pieces in and out.
- Full-height support transfers weight to the cabinet walls and counter, so even a stack of cast-iron trays won’t bow the base.
- Lift-out design means no tools needed for cleaning; pop a divider, wipe crumbs, and drop it back in place.
- Future-proof flexibility lets you reorganize when you add that pizza stone or swap sheet pans for air-fryer racks.
- Factory pre-routing keeps installation quick and tidy, one more way we streamline the project for you.
With dividers doing the heavy lifting, your kitchen storage island stays organized, quiet, and ready for every holiday bake-off.
5. Built-In Wine Racks and Beverage Centers
Turn a slice of your island into a small drinks corner that works for everyday life and weekend hosting. Angle bottle slots so corks stay moist and labels are easy to read. Add a rail under the counter for hanging stemware, so glasses dry dust-free and stay out of the way.
Slip a compact fridge drawer or cooler behind a panel to chill white wine, beer, or sparkling water without taking over the main fridge. With a setup like this, you can pour, prep garnishes, and serve without crossing the kitchen. Stone International can integrate these pieces right into your cabinetry plan, keeping everything sturdy, seamless, and easy to clean.
6. Space-Saving Step Stools and Kid-Friendly Drawers
Think about the littlest cooks in your house, and the tallest shelves. A slim, foldable step stool can hide behind a toe-kick panel or inside a shallow cabinet and slide out when someone needs a boost. Low, easy-glide drawers at the base of your island give kids access to cups, snack bowls, or lunch supplies without climbing onto chairs.
Soft-close hinges and slides help protect small fingers, and easy-clean interiors make quick work of inevitable spills. For families, accessibility matters. Incorporate features that serve all heights:
- Stow-Away Step Stools: A foldable stool tucks behind a cabinet door and slides out when needed.
- Lower-Level Drawers: Shallow drawers at the base height make snacks and utensils accessible to children.
- Soft-Lock Hinges: Prevent little fingers from slamming doors.
Stone International can build these details right into your island plan, so everything feels seamless, sturdy, and safe while freeing up higher cabinets for the grown-up gear.
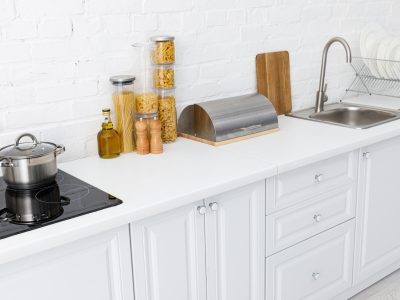
7. Select A Countertop That Works
Choose a surface that fits how you actually cook and live. If you’re a daily meal-prepper, go for something tough and low-maintenance, think quartz or a sealed natural stone that shrugs off spills and knife nicks.
Love to bake? A cooler slab surface like marble makes rolling dough easier, but be ready to wipe up acids fast to avoid etching. Check how each material handles heat, stains, and scratches, and ask about sealing schedules or manufacturer warranties.
Granite and quartz shrug off hot pots, red sauce, and the odd dropped pan. Laser-measure right in your kitchen and join the pieces so the seams are thinner than a credit card. Craving a warm prep spot? You can set a walnut butcher block into the stone, letting you chop without dulling your knives.
Stone International can walk you through countertop samples, edge profiles, and care tips to make sure your countertop performs and stays beautiful for years.

How to Maintain And Upgrade Your Kitchen Storage Island
Keep your island working hard and looking good with a simple rhythm: clean it, tune it up, then add smart upgrades when your needs change.
1. Give It a Regular Checkup
- Wipe interiors with mild soap and water; dry fully so moisture doesn’t swell wood or warp drawers.
- Tighten loose handles, knobs, and hinges twice a year. A quarter-turn with a screwdriver prevents sagging doors later.
- Glide each drawer in and out. If it sticks, vacuum crumbs from the tracks and add a dab of silicone spray.
- For natural stone counters, follow the sealing schedule your fabricator gave you (often once a year). Test it by dripping water—if it darkens the stone quickly, it’s time to reseal.
2. Reorganize Seasonally
Do a quick “pull and purge” every spring and fall. Toss expired spices, donate duplicate gadgets, and move rarely used serving pieces to deeper storage. Shift zones as habits change. If you’re baking more, bring mixers and measuring tools forward; grilling season? Slide the BBQ tools into an easy-access drawer.
3. Add Small, High-Impact Upgrades
- Drawer dividers and trays: Cheap, fast, and instantly tidier. Pick adjustable ones so you can reconfigure later.
- Pull-out bins for trash and recycling: Keeps smells contained and frees floor space.
- Toe-kick drawers or step stools: Hidden storage or a built-in boost for kids (or short shelves).
- LED strip lights: Stick them under shelves or inside deep cabinets so you actually see what’s in there.
4. Plan Bigger Improvements When Needed
- Deep drawer retrofits: Swap a shallow shelf for a full-extension drawer to reach pots without digging.
- Appliance garages or lift-up shelves: Hide small appliances but keep them powered and ready.
- Built-in wine or beverage sections: Tilted racks, stemware rails, and a compact cooler make entertaining smoother.
- Charging stations: Add pop-up outlets or a wireless charging pad to tame cords and keep devices alive.
5. Protect the Finish
Use soft-close hardware to prevent slams that chip paint or crack veneers. Place felt pads under heavy appliances stored inside drawers or on shelves. Immediately wipe up oils, tomato sauce, wine, or citrus on natural stone or wood to avoid stains and etching.
6. Know When to Call the Pros
Doors rubbing, drawers drooping, or water damage? A cabinet pro can realign, replace slides, or repair panels. Thinking about cutting into the island for a sink, cooktop, or fridge drawer? Bring in licensed contractors; plumbing and electrical changes need permits and proper ventilation.
If you’re upgrading finishes (paint, new doors, new countertop), ask about durability, care requirements, and warranties so upgrades last.
7. Keep a Quick Reference List
Tape a small card inside a cabinet door with:
- Countertop care instructions and seal dates
- Preferred cleaners (and what to avoid)
- Contact info for your cabinet maker or installer
- A reminder to do your “mini audit” twice a year
When you’re ready for a bigger refresh, choose upgrades that match how you cook, clean, and entertain, so every inch works harder for you. Visit Stone International to learn more and start customizing your dream island today.